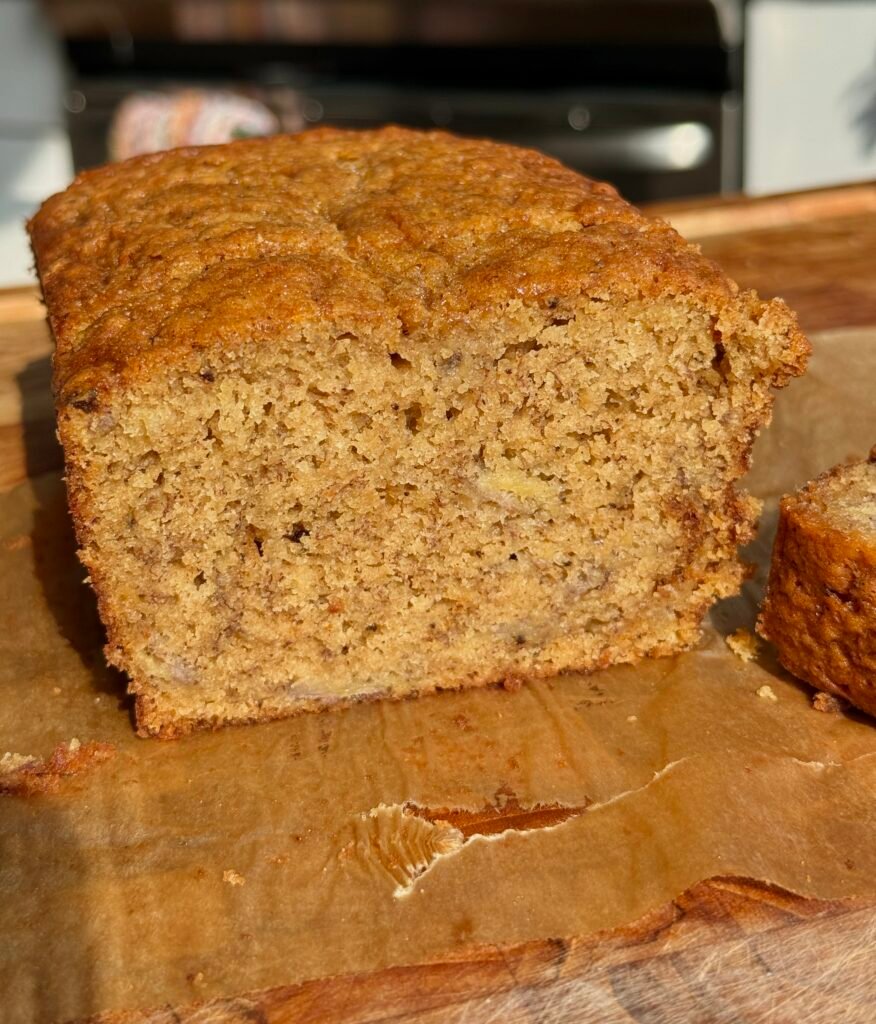
After years of trying a new banana bread recipe practically every time I wanted to make a loaf, I finally decided: why not just figure out how to make my ideal banana bread?
Now, I know what you’re thinking: does the world really need another banana bread recipe? That’s what I thought too, until I took a bite of the last and final test. This is officially the banana bread that has dethroned all other banana breads for me.
It starts with brown butter, which I think was basically made to be paired with bananas. The nuttiness and saltiness pair insanely well with their natural sweetness, giving the bread so much more depth of flavor and keeping it from tasting overly sweet.
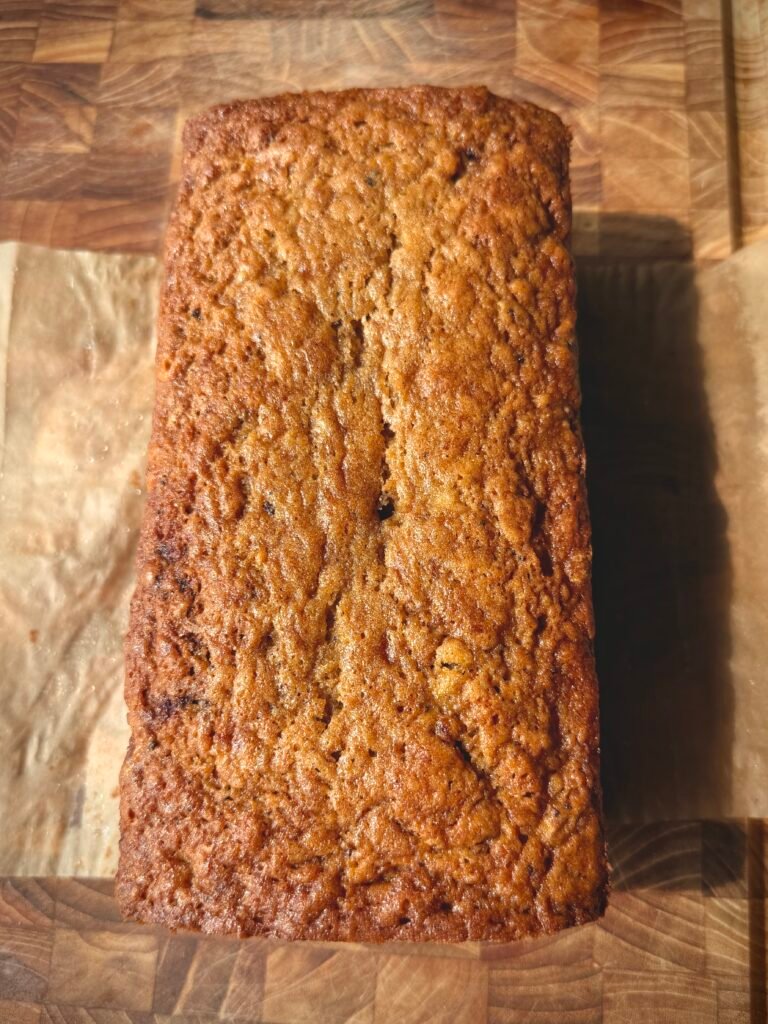
And don’t even get me started on the texture. It’s moist without being too wet, bouncy, with just the perfect amount of chew. The sugars caramelize around the edges as it bakes, giving you this slightly crisp exterior without needing to add any extra sugar on top.
And if you want something really special? Sear a thick slice in a pan with a little more butter and finish it with flaky salt (my personal preference), throw some chocolate chips into the batter, or just eat it exactly as is. It’s going to be fantastic either way. And if you needed any proof: with every test, my fiancé and I somehow managed to consume half a loaf within about 30 minutes of cutting into it.
What You’ll Love About This Banana Bread
- Brown butter makes everything better. Browning the butter adds a rich, nutty, almost caramel-like flavor that works ridiculously well with ripe bananas.
- The texture is SO good. It’s moist and tender without being wet or gummy, with a little bounce and chew that makes it hard to stop at one slice.
- It has caramelized, slightly crisp edges. The combination of brown and white sugar gives the exterior just enough caramelization while the center stays soft.
- It’s not overly sweet. Despite using super-ripe bananas, brown sugar, and a touch of maple syrup, the salted brown butter keeps everything balanced.
- No mixer needed, just one bowl and one skillet. Once you brown the butter, the batter comes together in one bowl with a whisk and rubber spatula.
- It’s just as good plain as it is dressed up. I tested this a few ways and kept coming back to ole faithful because it’s just that good. Add chocolate chips if you want, or do what I do and toast a slice in butter with a little flaky salt.
Ingredient Breakdown
- Very ripe bananas: I love a really well spotted banana vs a completely black banana. You get the moisture and depth of flavor of an overripe, without affecting the texture. You want about 350g of peeled banana for this recipe, which comes out to about 3 large bananas. Bananas that are heavily spotted or almost completely brown will give you the best flavor and natural sweetness.
- Salted butter: We’re browning a stick of butter before adding it to the batter. You can use unsalted butter if that’s what you have, but you may want to bump the salt up ¼-½ tsp.
- Brown and white sugar: Using mostly brown sugar gives the bread moisture, chew, and deeper caramel flavor, while a little white sugar helps create those slightly crisp, caramelized edges.
- Eggs: Two eggs provide structure while keeping the bread rich and tender. The key is whisking them for longer than you’d think to create aeration which helps with the overall texture of the banana bread, keeping it in moist territory without making it dense.
- Full-fat Greek yogurt or sour cream: Since water evaporates when browning butter, I wanted to replace some of that moisture with something that would help keep the banana bread moist for a few days afterwards (if it lasts that long!)
- Maple syrup: Just one tablespoon adds another subtle layer of caramel-like sweetness.
- Vanilla extract: I use a full tablespoon because I want that vanilla flavor to really come through.
- Cinnamon: Just enough to complement the banana and brown butter without turning this into a heavily spiced banana bread.
- Baking powder + baking soda: I use mostly baking powder with just a little baking soda to give the loaf lift while maintaining the texture I was looking for.
- All-purpose flour: Make sure to scoop and level your flour to measure to ensure you don’t add too much flour. If using a scale, this comes out to 210g. You don’t want to overmix once you add your flour. Stir just until you can no longer see any dry streaks.
- Optional add-ins: I personally love this banana bread exactly as written, but it also makes a great base for add-ins. Try folding chocolate chips, chopped walnuts, or pecans into the batter before transferring it to the loaf pan. If you’re using chocolate chips or nuts, I’d start with about ½ cup so you still get plenty of banana bread in every bite.
How to Brown Butter
- If you’ve never browned butter before, don’t let it intimidate you. It only takes a few extra minutes and makes a huge difference in the final flavor.
- Add your butter to a saucepan (a lightly colored one works best) over medium-low heat. As it melts, continuously stir and scrape along the bottom of the pan with a rubber spatula so the milk solids don’t stick.
- The butter will first melt, then bubble and splatter, and eventually begin to foam. Keep stirring as the color starts to deepen. You’re looking for golden-brown butter with little toasted brown bits throughout and a distinctly nutty smell.
- As soon as it reaches that point, transfer it to your mixing bowl. Brown butter can go from perfect to burnt quickly, so don’t leave it sitting in the hot pan. Let it cool slightly before continuing with the batter.
Tips & Tricks
- Let the brown butter cool. It doesn’t have to become completely cold or solidify, but you don’t want piping-hot butter when you add the eggs.
- Whisk the eggs and sugar well. Once you add the eggs and vanilla, give the mixture a good 1–2 minutes of whisking until it looks slightly lighter. This helps incorporate some air into the batter.
- Don’t overmix the flour. Switch to a rubber spatula and fold just until you can no longer see streaks of flour. Overmixing can make quick breads tough.
- Give it time to cool. I know this is arguably the hardest part, but letting the loaf cool for at least 30 minutes in the pan before transferring it to a cooling rack to keep cooling helps it set and hold its shape.
Serving Suggestions
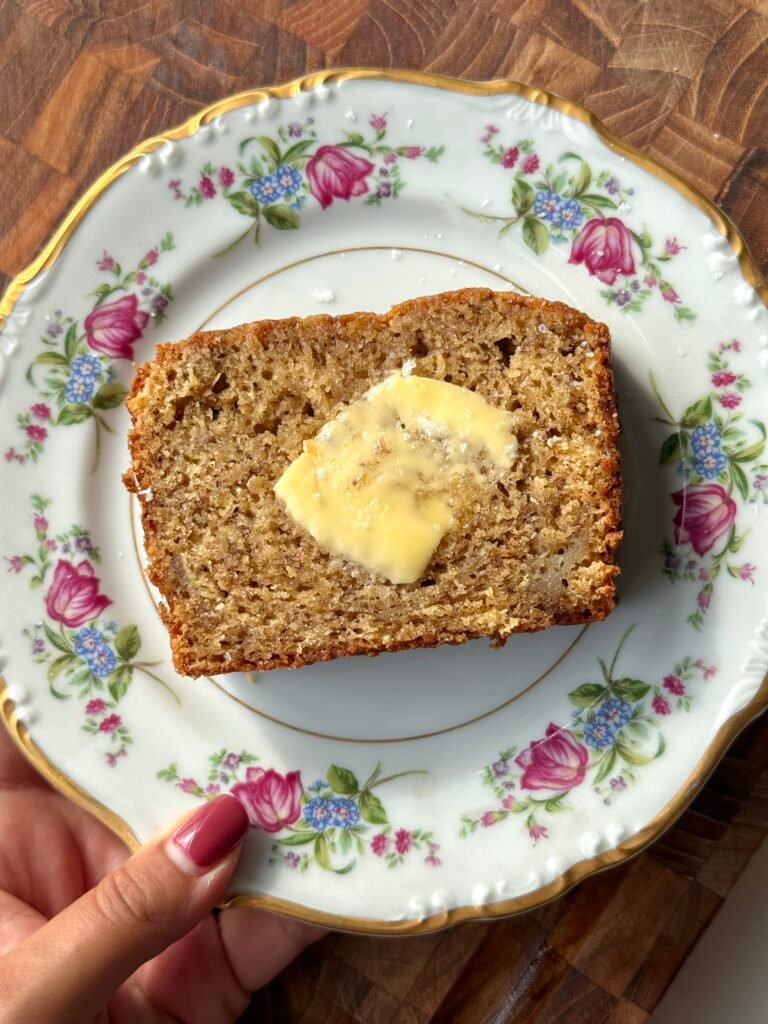
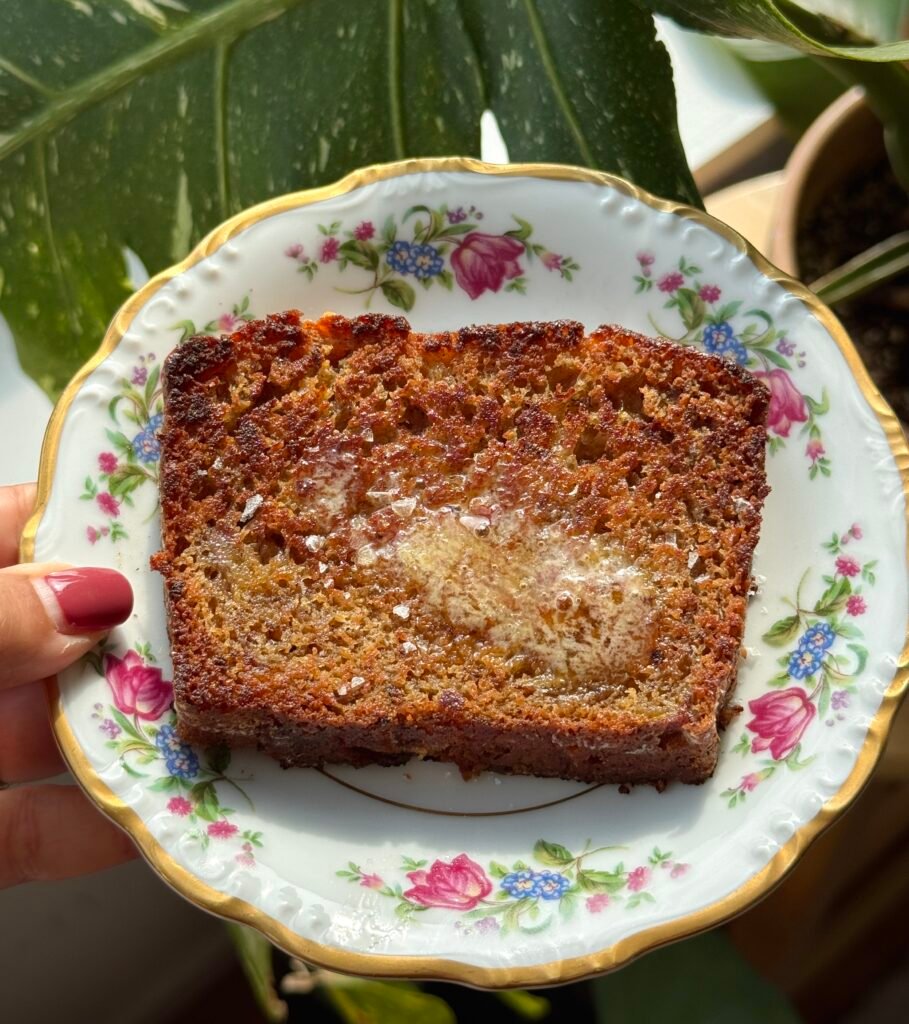
Obviously, you can cut yourself a slice and call it a day and it will be delicious. But if you want to take it to another level, heat a little butter in a skillet, add a thick slice of banana bread, and cook until the cut sides are golden and lightly crisp. Finish with flaky salt.
Warm, caramelized edges. Soft banana-y center. Nutty brown butter. Little pops of salt. This is my dream.
How to Store Banana Bread
Once completely cooled, keep the banana bread tightly wrapped or in an airtight container or plastic wrap at room temperature for up to 5 days.
For longer storage, keep it in the refrigerator for up to about a week. I recommend letting refrigerated slices come back toward room temperature or warming them before eating for the best texture.
You can also freeze individual slices so you have banana bread ready whenever the craving hits (but I personally have never had enough banana bread to freeze it lol). Wrap the slices well and store them in a freezer-safe container or bag for up to 3 months. Let them thaw at room temperature or warm them before serving.
Print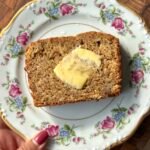
Brown Butter Banana Bread
- Total Time: 95
- Yield: 1 loaf, 10 slices
Description
This Brown Butter Banana Bread is moist, perfectly sweet, and packed with nuttiness and banana flavor. Nutty brown butter, brown sugar and a touch of maple syrup give classic banana bread an irresistible upgrade.
Ingredients
For the Banana Bread:
- 1 stick (½ cup) salted butter (113g)
- ¾ cup packed brown sugar (160g)
- ¼ cup white sugar (50g)
- 2 eggs
- 1 tbsp vanilla extract
- 2 tbsp full fat Greek yogurt or sour cream (32g)
- 1 tbsp maple syrup (20g)
- 3 large very ripe bananas (about 350g), peeled and mashed
- ½ tsp cinnamon
- 2 tsp baking powder
- ¼ tsp baking soda
- ½ tsp kosher salt
- 1⅔ cup all purpose flour (210g)
Instructions
For the Brown Butter Banana Bread:
- Start by browning your butter. Add the butter to a saucepan over medium low heat. Use a rubber spatula to stir and scrape the butter from the bottom so the milk solids don’t get stuck to the pan. The butter will melt, then start to bubble up and splatter, then start to foam. Once this happens, keep stirring, cooking until the butter gets to a golden brown and you see small browned bits floating, about 5-6 more minutes. Once the butter has browned, transfer to a large bowl to cool.
- Preheat the oven to 325°F. Butter a standard loaf pan and line with parchment paper with ~2” of overhang for easy removal.
- Once the butter has cooled, whisk in the brown sugar and white sugar until well combined.
- Add the eggs and vanilla and whisk for at least 1-2 minutes or until the mixture has slightly lightened in color. Whisk in the Greek yogurt, maple syrup, and mashed bananas.
- Sprinkle in the cinnamon, baking powder, baking soda, and salt. Add in the flour and stir with a rubber spatula just until no flour streaks remain.
- Pour the batter into the loaf pan and bake at 325°F for 70-75 minutes or until a skewer comes out clean or with just a few crumbs.
- Let the banana bread cool in the pan for at least 30 minutes, then transfer to a cooling rack and let it cool completely before serving. This helps the banana bread keep its shape. Serve as is, or slice and toast in a buttered pan and season with flaky salt.
- Prep Time: 20
- Cook Time: 75
- Category: Dessert
FAQs
Can I use frozen bananas for this?
Yes! Frozen ripe bananas work well for banana bread. Let them thaw completely, then mash them before measuring out the 350g needed for the recipe.
Thawed bananas release quite a bit of liquid. You can incorporate the banana and its juices rather than draining them, but measuring by weight is especially helpful here so you don’t accidentally add too much.
How Do I Know When Banana Bread Is Done?
Because this is a moist banana bread, you don’t want to pull it from the oven too early. Bake at 325°F for about 70–75 minutes, then insert a skewer or toothpick into the center. It should come out clean or with a few moist crumbs attached, but you shouldn’t see wet batter.
If the top is browning more quickly than you’d like before the center is finished, loosely tent the loaf with foil for the remainder of the baking time.
Can I Turn This Banana Bread Into Muffins?
Yes! This banana bread batter can also be baked as muffins. Prepare the batter as written, then divide it between a lined muffin pan, filling each cup about ¾ of the way full.
Bake at 350°F for about 18–24 minutes, or until the tops are set and a toothpick inserted into the center comes out clean or with a few moist crumbs.
Since muffins have much more exposed surface area than a loaf, baking them at 350°F instead of 325°F helps them rise nicely and develop golden, slightly caramelized tops and edges while keeping the centers moist. Start checking them around the 18-minute mark to avoid overbaking.


