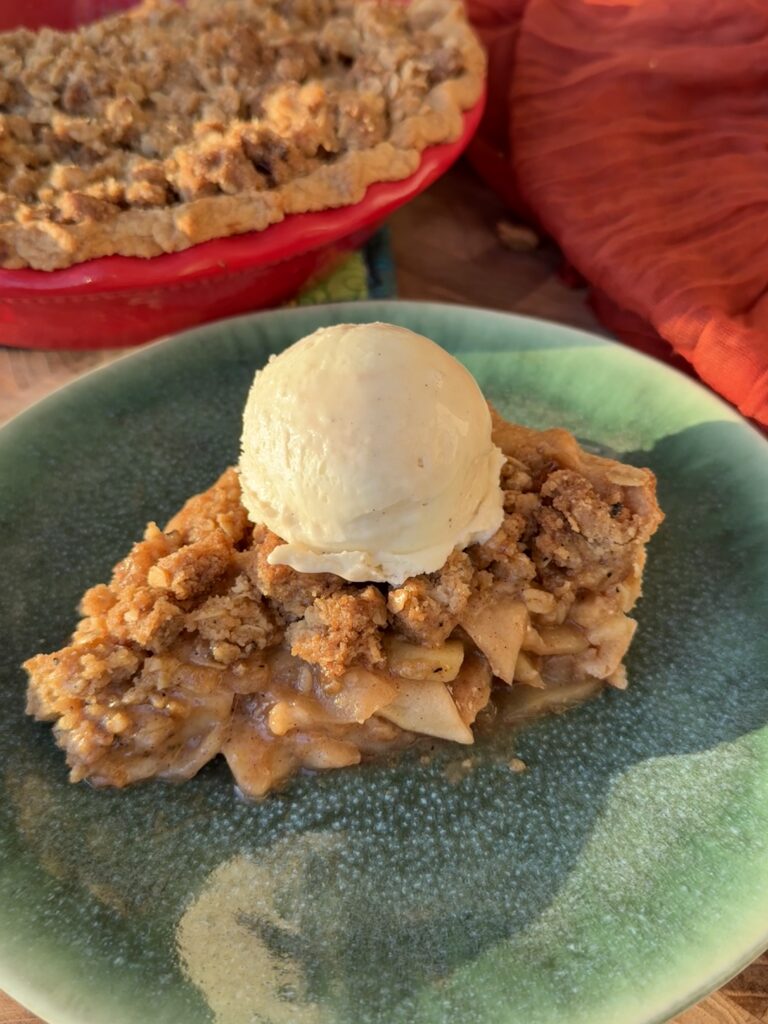
If I had to eat one pie for the rest of my life, it would, without hesitation, be this Dutch Apple Pie with a Brown Butter Crumble. It’s truly perfect: comforting, cozy, perfectly spiced, and hands down my favorite pie on the planet.
If you’ve never had Dutch Apple Pie before, think of it as the beautiful love child of classic apple pie and apple crisp. You get the standard apple pie base you know and love, but instead of a top crust, you add a golden, crunchy, brown-butter crumble that brings the most irresistible texture. It’s everything.
What Makes This Dutch Apple Pie Special
- The brown butter crumble
- Instead of using softened butter, we brown it first. That simple step adds a deep, nutty flavor that transforms this crumble from a good crumble to an irresistible one. Mixed with flour, brown sugar, oats, and a big pinch of salt, it strikes the perfect balance of sweet, toasty, and salty.
- A perfectly spiced apple filling
- This pie uses a blend of warming spices, but the secret star is the cardamom. It adds a light, fruity note that lifts the whole filling and balances the cinnamon beautifully.
- The texture—no mush, no gloop.
- I’m particular about my apple pie. It cannot be overly sweet, gloopy, or filled with mushy apples. I don’t love precooking apples because it’s extra work and often leads to overly soft fruit. But skipping it entirely can sometimes leave the apples too firm.
- The solution? Macerating. Sounds fancy, but all it means is tossing the sliced apples with sugar, salt, and spices, then letting them sit for about an hour. The sugar draws out excess moisture and softens the apples just enough so they bake up perfectly tender—not mushy, not crunchy.
- Combined with thinly sliced apples and the right apple varieties, this method gives you that ideal bite that keeps you going back for seconds (and honestly… probably thirds).
Tips for a Truly Great Apple Pie
1. Choose the Right Apples
Not all apples bake the same, and the ones you choose absolutely make or break your pie. My go-to method is using a mix of tart and sweet apples for flavor depth and the perfect texture. I almost always use a combination of Granny Smith and Honeycrisp, but see below for some alternatives.
Best apples for pie:
- Tart: Granny Smith
- Sweet: Honeycrisp, Pink Lady
- Also great: Braeburn, Golden Delicious
These hold their shape well and won’t turn to mush.
Apples to avoid: Macintosh, Red Delicious, Gala, Fuji
These varieties tend to break down, turn mushy, or become mealy—none of which we want in a pie.
2. Time – Let your pie sit
- The key to the right texture for an apple pie is letting the sliced apples sit with sugar and spices for an hour to help release some of their juices and soften. This allows you to get a perfectly tender apple without having to cook it first.
- The other time you want to let your pie sit? After it cooks. Yes, it’s torture. Yes, you want to cut into it immediately. But PLEASE, let the pie rest at least 4 hours, ideally overnight.
- This rest time allows the juices to thicken and the filling to fully set. Slice too soon and you’ll end up with a soupy, deconstructed pie and a soggy bottom crust. Still delicious, sure, but not that clean, perfect slice we’re going for.
- Making the pie the day before eliminates stress and guarantees the best texture. You can always reheat in a 350°F oven for a few minutes to warm through before serving.
3. Pie Crust
This apple pie only uses one 9” pie crust, and honestly? I usually just buy storebought, Pillsbury specifically. If you do want to make your own pie crust, I personally like the one from Cook’s Illustrated you can find here.
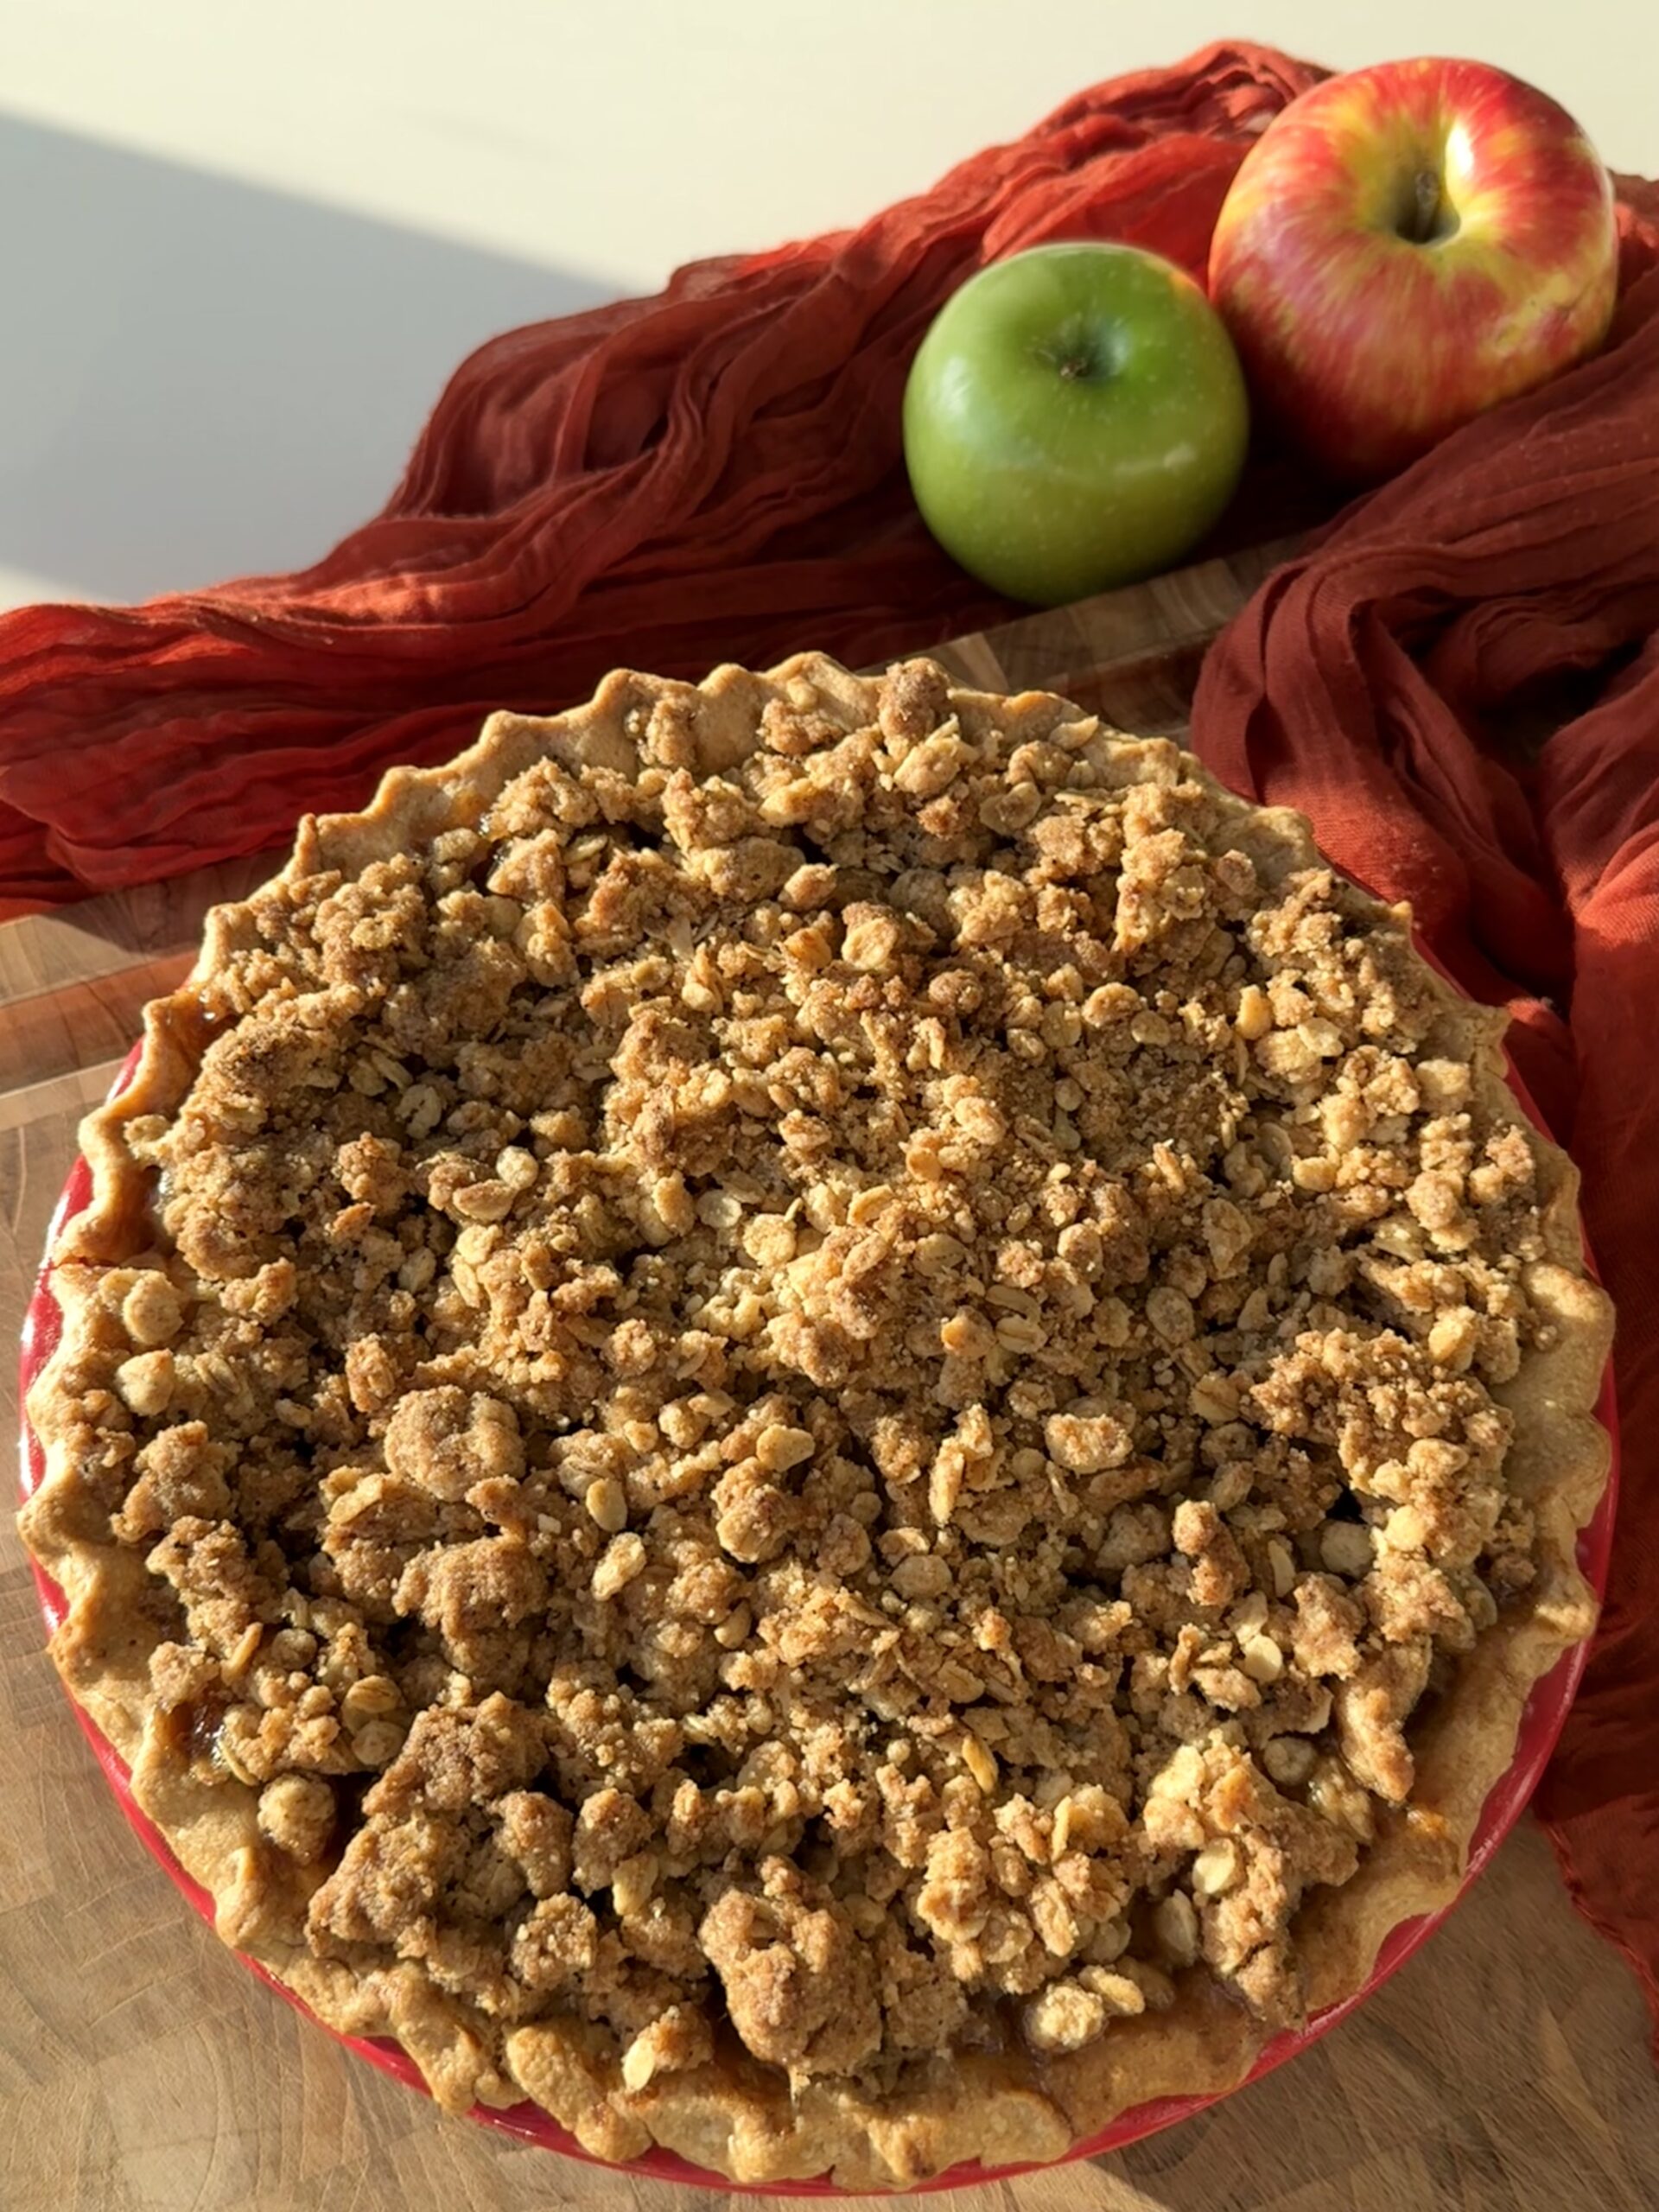
4. Bake your pie for longer than you think.
I usually bake my pie for 65-75 minutes and don’t pull it until I see the filling bubbling up through the crust. If you start to see too much browning on the crust before you start to see bubbling, tent with foil and continue to bake. Baking for long enough thickens the filling and allows the apples to fully cook.
Print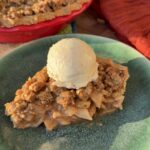
Brown Butter Dutch Apple Pie
- Total Time: 5.5 Hours (4 hours cooling time)
- Yield: 8
Description
A rich and cozy Brown Butter Dutch Apple Pie made with a warm, spiced apple filling and a crisp brown butter oat crumble topping—perfectly tender, never mushy, and the ideal holiday dessert.
Ingredients
For the Apple Filling:
- 2½ lbs apples (about 7 medium apples) – I like to use a mix of Granny Smith and something sweeter like Honeycrisp or Pink Lady
- ½ cup packed light brown sugar (110g)
- ¼ cup white sugar (50g)
- 2 tsps vanilla extract
- 2 tsps ground cinnamon
- 1 tsp ground ginger
- ¾ tsp ground cardamom
- ¼ tsp ground nutmeg
- ½ tsp salt
- 2 tbsps all purpose flour
- 1 tbsp cornstarch
- 1 (9”) pie crust, homemade or storebought
- 2 tbsps salted butter, cut into small cubes
For the Brown Butter Crumble Topping:
- 1¼ cups all purpose flour (150g)
- ⅓ cup old fashioned oats (28g)
- 10 tbsps salted butter (1 stick + 2 tbsps)
- ⅔ cups packed brown sugar (147g)
- ½ tsp salt
Instructions
For the Brown Butter Dutch Apple Pie:
- Start by peeling and coring all your apples. Slice into thin slices, about ¼” thick, then slice in half lengthwise to help to compact the apples better into the pie. Add to a bowl with the brown sugar, white sugar, vanilla, cinnamon, ginger, cardamom, nutmeg, and salt. Mix until well combined and set aside for 1 hour to macerate. This just means to let the apples sit with the sugars and spices to help draw out moisture and soften them.
- Next, brown the butter for the crumb topping. Add butter to a small saucepan on medium heat and cook until foamy. Swirl the pan until you start to see it get to a golden brown. Shut off the heat and transfer to a glass mixing bowl. Mix in the oats to toast in the brown butter and set aside to cool.
- Once the butter has cooled, add in the flour, brown sugar, and salt and stir the mixture until a crumbly dough has formed.
- Preheat the oven to 375°F. Add a baking sheet to the oven to preheat. You will place your pie on the preheated baking sheet which will help to crisp up the bottom crust and help catch any juices that bubble over from the pie.
- Roll out your pie dough and place in a greased 9” pie dish. Fold the edges under and crimp using your fingers or knuckles. Place in the fridge to chill for 5-10 minutes.
- Add flour and cornstarch to the apple slices and toss until no streaks of flour or cornstarch remain. Add the apple filling to your pie dish, filling all the way to the top, compressing as you go to compact the apples into the filling. Pour over any remaining juices from the bowl. You should have around ½ – ¾ cup of remaining juices. If you have anymore than that, discard the rest. Dot the apples with small cubes of butter.
- Top the pie with the crumble mixture and place on top of the baking sheet. Bake at 375 for 65-75 minutes, turning a few times to ensure even browning. If your crust is getting too browned, tent with foil. You’ll know when your pie is done when you can see the filling bubbling through the topping. If you do not see bubbling, continue baking until you do.
- Cool the pie for at least 4 hours at room temperature before serving, ideally overnight*
Notes
*Cooling the pie allows the filling to thicken and firm up, which results in a clean slice. If you cut into your pie too soon, the liquid from the pie will spill over and can result in a soggy bottom crust.
- Prep Time: 45
- Cook Time: 70
- Category: Dessert