There’s no such thing as being “too old” for a Rice Krispie treat. If they’re on the counter, you’re having one. And then another. And then somehow five disappear.
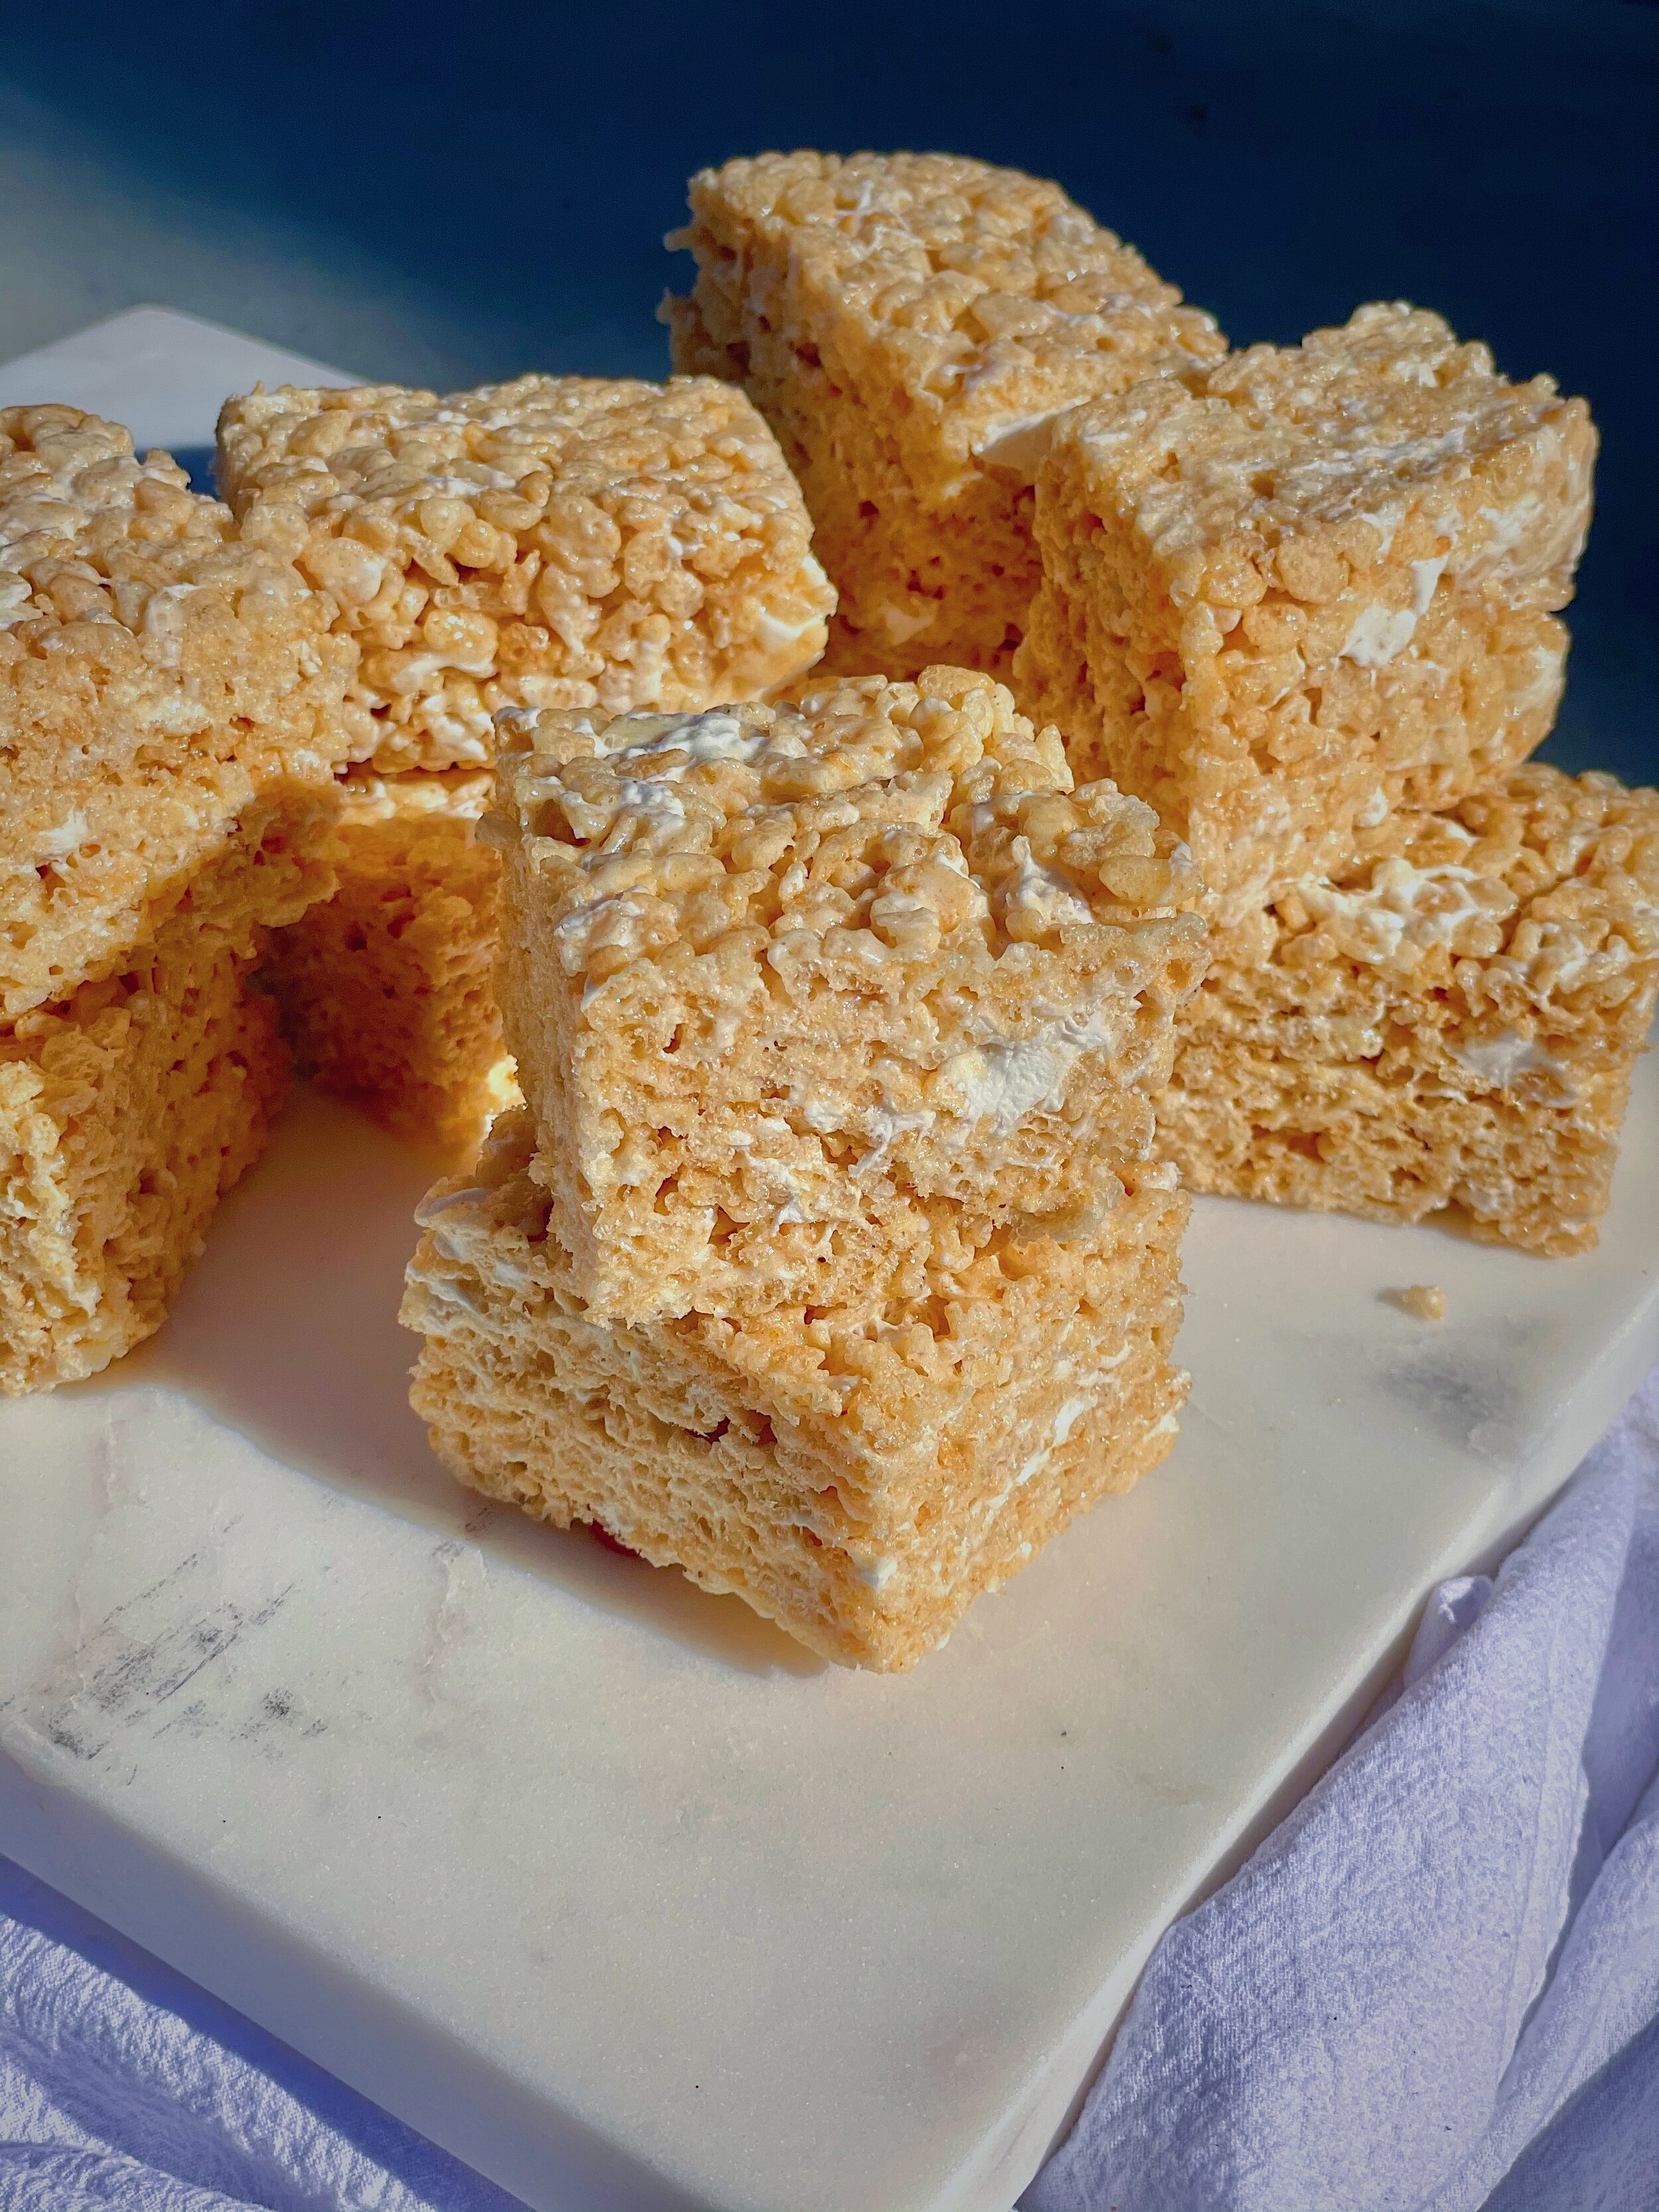
The original combo of cereal + marshmallows is already iconic, but browning the butter takes this nostalgic classic to a whole new level. That deep, nutty flavor adds richness and a subtle salty-sweet balance that makes these taste a little more grown up — without losing the gooey, pull-apart magic we all love.
They’re soft in the center, perfectly chewy at the edges, and packed with those dreamy little pockets of melty marshmallow throughout. Equal parts cozy and crowd-pleasing, they’re just as fun to make as they are to eat — whether you’re baking with family in the kitchen or recreating a childhood favorite for yourself.
Trust me: once you try them this way, you won’t go back.
Tips & Tricks for Perfect Rice Krispie Treats Every Time
- Don’t rush the brown butter. There are a few stages butter goes through before it gets browned, and things can happen quickly so you want to keep a close eye on it:
- Stage 1: Melted & Foamy
The butter melts completely and starts to foam on top. You’ll hear gentle bubbling — that’s the water cooking off. At this point, it’s still regular melted butter. - Stage 2: Smaller Bubbles
The bubbles get smaller and the foam begins to thin. You’ll start to see the milk solids (tiny specks) settling at the bottom of the pan. Keep stirring or swirling the pan so everything toasts evenly. - Stage 3: Golden & Nutty (The Sweet Spot)
The milk solids turn light golden brown, and the butter smells warm, toasty, and slightly nutty. The color will be a deep golden amber. As soon as you start to see some browning, you’ll want to reduce the heat to the lowest setting and watch carefully until it’s golden brown.
- Stage 1: Melted & Foamy
- Low and slow is the way to go. If marshmallows get cooked at too high of a temperature, they get hard as they cool – not what we’re looking for here! Reduce your heat to low towards the end of the butter browning process, to ensure the pan is not too high once you add the marshmallows. Once you add the vanilla extract and salt, the butter will bubble but should subside after you stir. Once it does, you can add your mallows.
- Reserve extra marshmallows for stirring in at the end. I like saving some of the mini marshmallows to stir in when I add the Rice Krispies, as it results in gooey pockets of marshmallow that are to die for.
- Don’t press the marshmallow treats into the pan. When transferring the Rice Krispie treats from pot to pan, gently spread it out with a rubber spatula or slightly wet fingers. You don’t want to press down to compact the mixture too hard, as it can result in tougher Rice Krispie treats.
- Line your pan with parchment paper for easy removal. Buttering your 9×13″ pan and lining with parchment paper with a 2″ overhang makes for super easy removal and keeps the treats from getting stuck to the pan.
- Storing: store your Rice Krispie treats in an airtight container or plastic bag at room temperature for 3-5 days for maximum freshness.
Brown Butter Rice Krispie Treats
- Total Time: 30
- Yield: 20-24 squares
Description
Ingredients
For the Brown Butter Rice Krispie Treats:
-
1 cup salted butter (2 sticks)
-
2 10oz bags mini marshmallows
-
1 tsp vanilla extract
-
¼ tsp salt
-
12 cups Rice Krispie cereal (about 12oz)
Instructions
For the Best Brown Butter Rice Krispie Treats:
- Set aside 2 cups of the mini marshmallows.
-
Use the butter wrappers to grease a 9×13 glass baking dish and double line with parchment paper with 2″ of overhang on all sides.
-
Start by browning the butter. Add butter to a large pot or Dutch oven (preferably one with a light colored bottom – it will help to see the color of the butter to tell when it’s browned) on medium low heat. It can take anywhere from 8-10 minutes for the butter to get browned, and usually the point from a brown color to a burnt color is less than a minute, so keep a close eye on it. Once the butter is melted, you’ll see the butter separate from the milk solids. From there, it will start to get super foamy where you can barely see the liquid at the bottom. At this point, reduce the heat to the lowest setting and stir frequently, as it will go from golden brown to brown in just a few seconds.
-
Once browned, stir in the vanilla extract and salt. It will sizzle, so continue stirring until the bubbling subsides.
-
Add the marshmallows (except the 2 cups you reserved) and cook on the lowest heat, stirring frequently with a rubber spatula until just melted.
-
Once marshmallows have melted, add in the reserved 2 cups of marshmallows and the Rice Krispies and stir until fully combined and reserved marshmallows are just starting to melt. Shut off the heat.
-
Quickly transfer to the parchment lined baking dish and gently spread the mixture out with a rubber spatula. You don’t want to compact them too much or they can come out dense.
-
Let cool completely at room temperature, about an hour. Using the parchment paper overhang, pull the treats out of the baking dish and onto a cutting board to cut into squares. Store in an airtight container or plastic bag at room temperature for 3-5 days.
Notes
You want to make sure your pan is not too hot before adding the marshmallows, as this can cause them to harden as they cool. When the butter is almost brown, reduce the heat to low and add the vanilla extract first to test the heat of the pan. If your pan is continuing to sizzle even after stirring in the vanilla, shut off the heat before adding the marshmallows.
When adding the treats to the lined pan, be sure to just gently spread the mixture out vs pressing into the pan. Pressing the treats into the pan can cause them to compact too much which can cause them to harden. You can press lightly using a silicone spatula or with slightly wet fingers.
- Prep Time: 5
- Cook Time: 25
- Category: Dessert
- Method: Stovetop